- Stérilisation des aliments
- 3 likes
- 1640 views
- 0 comments

Here is a complete guide to sterilizing your jars safely.
Prepare the material
Jars used for sterilization must be in perfect condition, not chipped and clean. The twist off gaskets and lids that have already undergone a first sterilization must be changed to ensure a perfect seal of the jars.
To ensure proper cleaning of the jars, they can be simply cleaned with hot soapy water. They can also be sterilized to ensure impeccable cleanliness. To do this, simply immerse them in water, heat until boiling, then keep boiling for 10 minutes. Allow them to air dry on a clean tea towel.
Warning: Never place tempered glass jars in boiling water! To avoid thermal shock, the jars are always placed in water at room temperature, before gradually heating the water to a boil.
Recipe book "Making jars with Le...


 1 Review(s)
 Prepare the food
Most casseroles are done as usual. However, some cooking times can be reduced as cooking continues slowly during sterilization (eg cooking lentils). Certain spices or herbs can also be added at the end of cooking, directly in the jars. The aromas will have time to be transmitted during the storage period of the jars. Never sterilize preparations made from frozen or thawed ingredients!
For raw fruits and vegetables, prepare a brine or syrup that will allow them to be immersed. For quantities, always follow the recipe instructions!
Raw vegetables must be washed beforehand and at least blanched. To do this, immerse them for a few minutes in boiling water, then cool them immediately in cold water. Blanching vegetables preserves their texture and pretty colors.
Raw fruit should be removed from any kernels or seeds they contain. Keep the red fruits whole. Raw fruits and vegetables should be ripe, but not too ripe either to prevent fermentation in the jar afterwards.
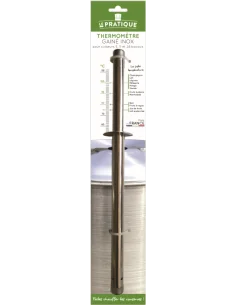
Stainless steel sheathed thermometer - Le Pratique
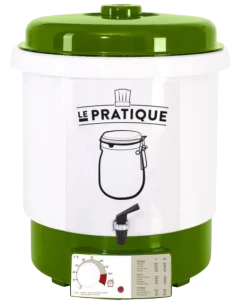
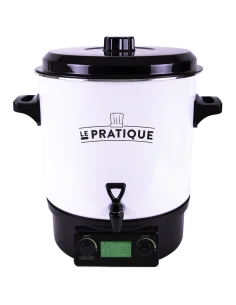
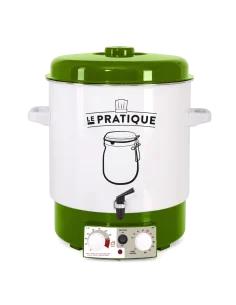
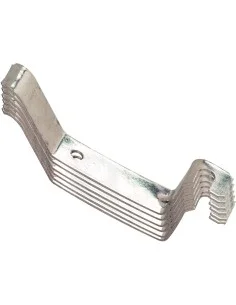
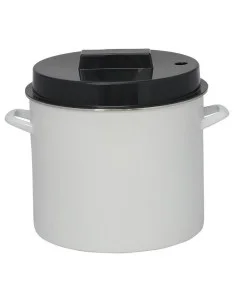
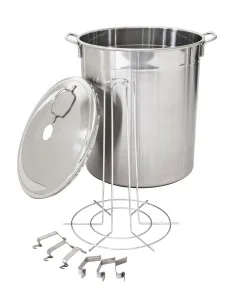
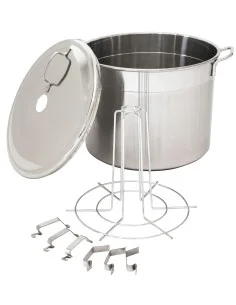
Stainless steel sterilizer 37L with column and hooks - Guillouard
Stainless steel sterilizer 24L with column and hooks - Guillouard
Fill the jars
For raw fruits and vegetables, place them in jars and cover with hot salted or sweetened water. For quantities, always follow the recipe instructions!
For ready meals, distribute the still hot preparation evenly in the jars. Wipe the neck of the jar, the gasket or the lid if there is even the slightest splash.
Caution: Never fill the jars to the brim. An air space of about 2 cm from the edge of the jar (about 10% of the total volume) should be left to prevent any possible fermentation from spilling out of the jar after storage. Close jars, edges and gaskets / lids must be clean to ensure proper closure.
Silk and cotton brush 35 cm


 1 Review(s)
 Densimeter for syrups and jams - Le...


 1 Review(s)
 Set of 4 bottle brushes - Bambaw


 1 Review(s)
 3 function washer puller - Le Parfait


 1 Review(s)
 Start sterilization
Once the jars are closed, immerse them in water, then bring to a boil for the amount of time specified in the recipe. This duration varies according to the preparations and can last from 1 hour to 3 hours.
For example, for jars of cooked food (purees, ready meals, etc.), sterilization takes place in 1 hour. While for jars of raw food (uncooked before sterilization, such as some pâtés or green beans), it must be left sterilized for up to 3 hours. It is imperative to follow the sterilization times indicated in the recipes.
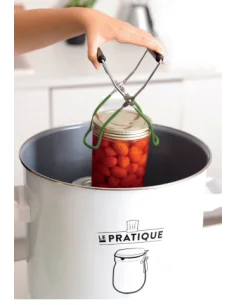
Once the sterilization time has elapsed, it is strongly recommended to remove them while hot to avoid overcooking and contamination of the jars. There are jar tongs that allow them to be removed without getting burned. Once out of the water, let them cool completely before storing.
To check that the sterilization has worked, you must make sure that the jar is perfectly airtight. For this, the jars can be turned upside down to check for leaks. Then checking that the lid remains stuck to the jar, this confirms the presence of an air vacuum. If there is any doubt, the jar is returned to sterilization, or consumed within the week.
Store the jars
The jars should be stored in a cupboard or in a dry, cool place away from direct light. They can be stored for several years, but the idea is to consume them within a year, until the season returns!













Comments (0)